C# Winform | textbox vertical alignment | custom control
1. TextBox 상속 클래스 만들기
프로젝트 -> 새 항목 추가 -> 클래스
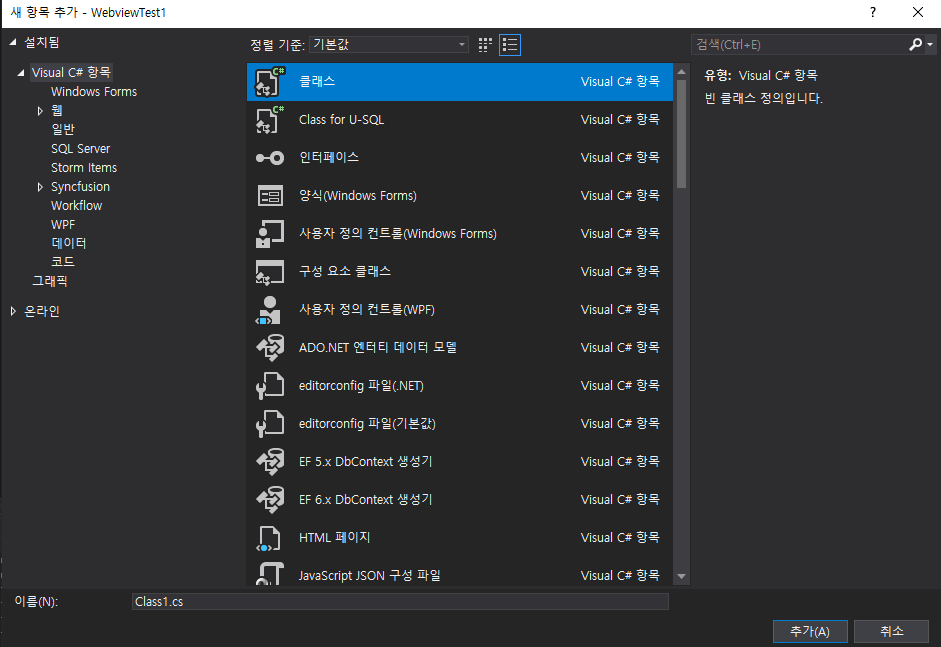
클래스 이름 : VerticalTextBox.cs
2. TextBox 상속 클래스 Code 작성
|
using System;
using System.Collections.Generic;
using System.ComponentModel;
using System.Drawing;
using System.Linq;
using System.Text;
using System.Threading.Tasks;
using System.Windows.Forms;
public class VerticalTextBox : Control
{
public VerticalTextBox()
{
//OnPaint의 e.Graphics.DrawRectangle 잔상 제거 -> ControlStyles.ResizeRedraw 필수
base.SetStyle(ControlStyles.OptimizedDoubleBuffer | ControlStyles.DoubleBuffer | ControlStyles.AllPaintingInWmPaint | ControlStyles.ResizeRedraw, true);
textBox = new CustomTextBox();
textBox.Anchor = AnchorStyles.Top | AnchorStyles.Bottom | AnchorStyles.Left | AnchorStyles.Right;
this.Controls.Add(textBox);
//Init
Text = "";
BackColor = SystemColors.Window;
LeftRightPadding = 10;
BorderColor = Color.Gray;
}
private CustomTextBox textBox;
public override string Text
{
get { return textBox.Text; }
set { textBox.Text = value; }
}
public override Color ForeColor { get { return textBox.ForeColor; } set { textBox.ForeColor = value; } }
public override Color BackColor
{
get { return base.BackColor; }
set
{
textBox.BackColor = base.BackColor = value;
Invalidate();
}
}
public HorizontalAlignment TextAlign { get { return textBox.TextAlign; } set { textBox.TextAlign = value; } }
private int leftRightPadding;
public uint LeftRightPadding
{
get { return Convert.ToUInt32(leftRightPadding); }
set
{
leftRightPadding = Convert.ToInt32(value);
textBox.Location = new Point(leftRightPadding, textBox.Location.Y);
}
}
private Color borderColor;
public Color BorderColor
{
get { return borderColor; }
set { borderColor = value; }
}
protected override void OnPaint(PaintEventArgs e)
{
e.Graphics.DrawRectangle(new Pen(borderColor), 0, 0, ClientRectangle.Width - 1, ClientRectangle.Height - 1);
}
protected override void OnSizeChanged(EventArgs e)
{
base.OnSizeChanged(e);
int textTop = (this.Height / 2) - (textBox.ClientSize.Height / 2);
textBox.Location = new Point(leftRightPadding, textTop);
textBox.Width = this.Width - (leftRightPadding * 2) - 2;
}
protected override void OnMouseClick(MouseEventArgs e)
{
base.OnMouseClick(e);
if (!textBox.Focused)
{
textBox.Focus();
}
}
public class CustomTextBox : TextBox
{
public CustomTextBox()
{
this.BorderStyle = BorderStyle.None;
}
protected override void OnFontChanged(EventArgs e)
{
base.OnFontChanged(e);
int textTop = (this.Parent.Height / 2) - ((this.ClientSize.Height+2) / 2);
this.Location = new Point(this.Location.X, textTop);
}
protected override void OnKeyPress(KeyPressEventArgs e)
{
if (e.KeyChar == (char)Keys.Return)
{
e.Handled = true;
}
base.OnKeyPress(e);
}
}
}
|
cs |
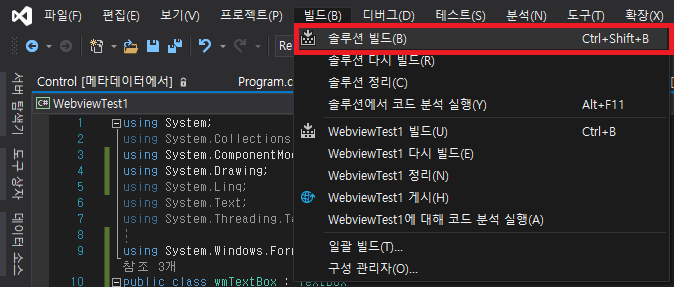
3. 솔루션 빌드
클래스를 추가하고 [솔루션 빌드]를 진행하면 [도구 상자]에서 컨트롤을 추가할 수있다.
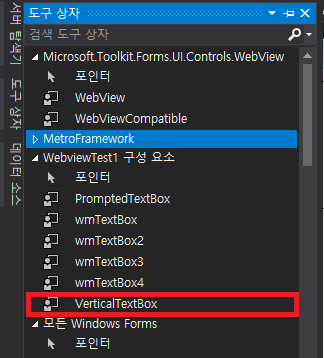
4. Custom Control 추가
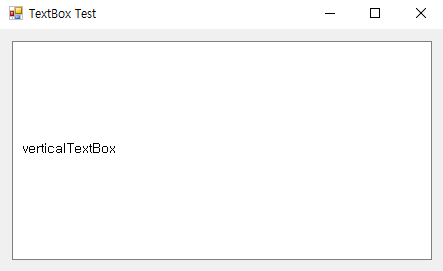
[솔루션 빌드] 이후 [도구 상자]에서 생성된 verticalTextBox를 Form에 추가한다.
5. Property 설정
verticalTextBox의 Watermark 속성을 지정한다.
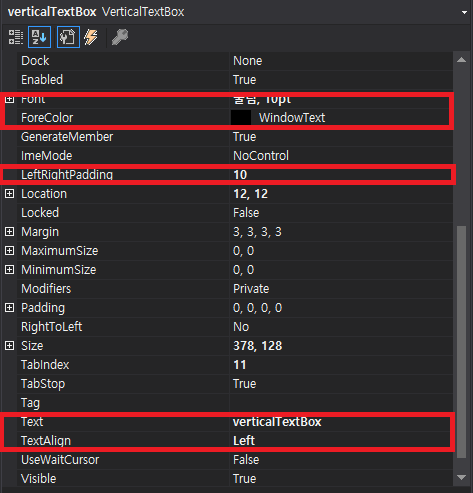
Property 설명
- LeftRightPadding : Text 좌우 간격
Result
'C# Winform' 카테고리의 다른 글
| C# Winform | String to Byte Array | Byte Array to String (0) | 2020.12.08 |
|---|---|
| C# Winform | AsyncSocket | Client Socket (0) | 2020.12.08 |
| List Of Windows Messages | WndProc (0) | 2020.11.30 |
| C# Winform | Watermark in a textbox | Placeholder | custom control (0) | 2020.11.25 |
| C# Winform | remove zero from decimal c# (0) | 2020.11.16 |


